Previous section: Making Mosaics
Interpolation!
I settled with the baseline settings of a 5 year data range, and a Cloud Score+ threshold of 65% clear. This takes a long time to process in Earth Engine, but produces a solid mosaic for 95% of the Chocó. Now I wanted to fill the 5%.
I know the actual landscape underneath these data holes is probably carpets of dense rainforest, which is easy to fake (it’s just green), but it would be even better if I could stretch the real data even more. So I decided to try to interpolate from the edges around the holes into them to cut down as much as possible on the space I need to fill in from scratch.
Luckily, I do not need this to stand up to scientific scrutiny, so I can focus purely on aesthetics. Which is good, because satellite image interpolation is a big topic, and interpolation algorithms can get complex…
While I recognize their utility, I also don’t need to go to that extent. Because again, this is not to maintain scientific accuracy, but only to get a workable color in those areas. We can probably do something simple.
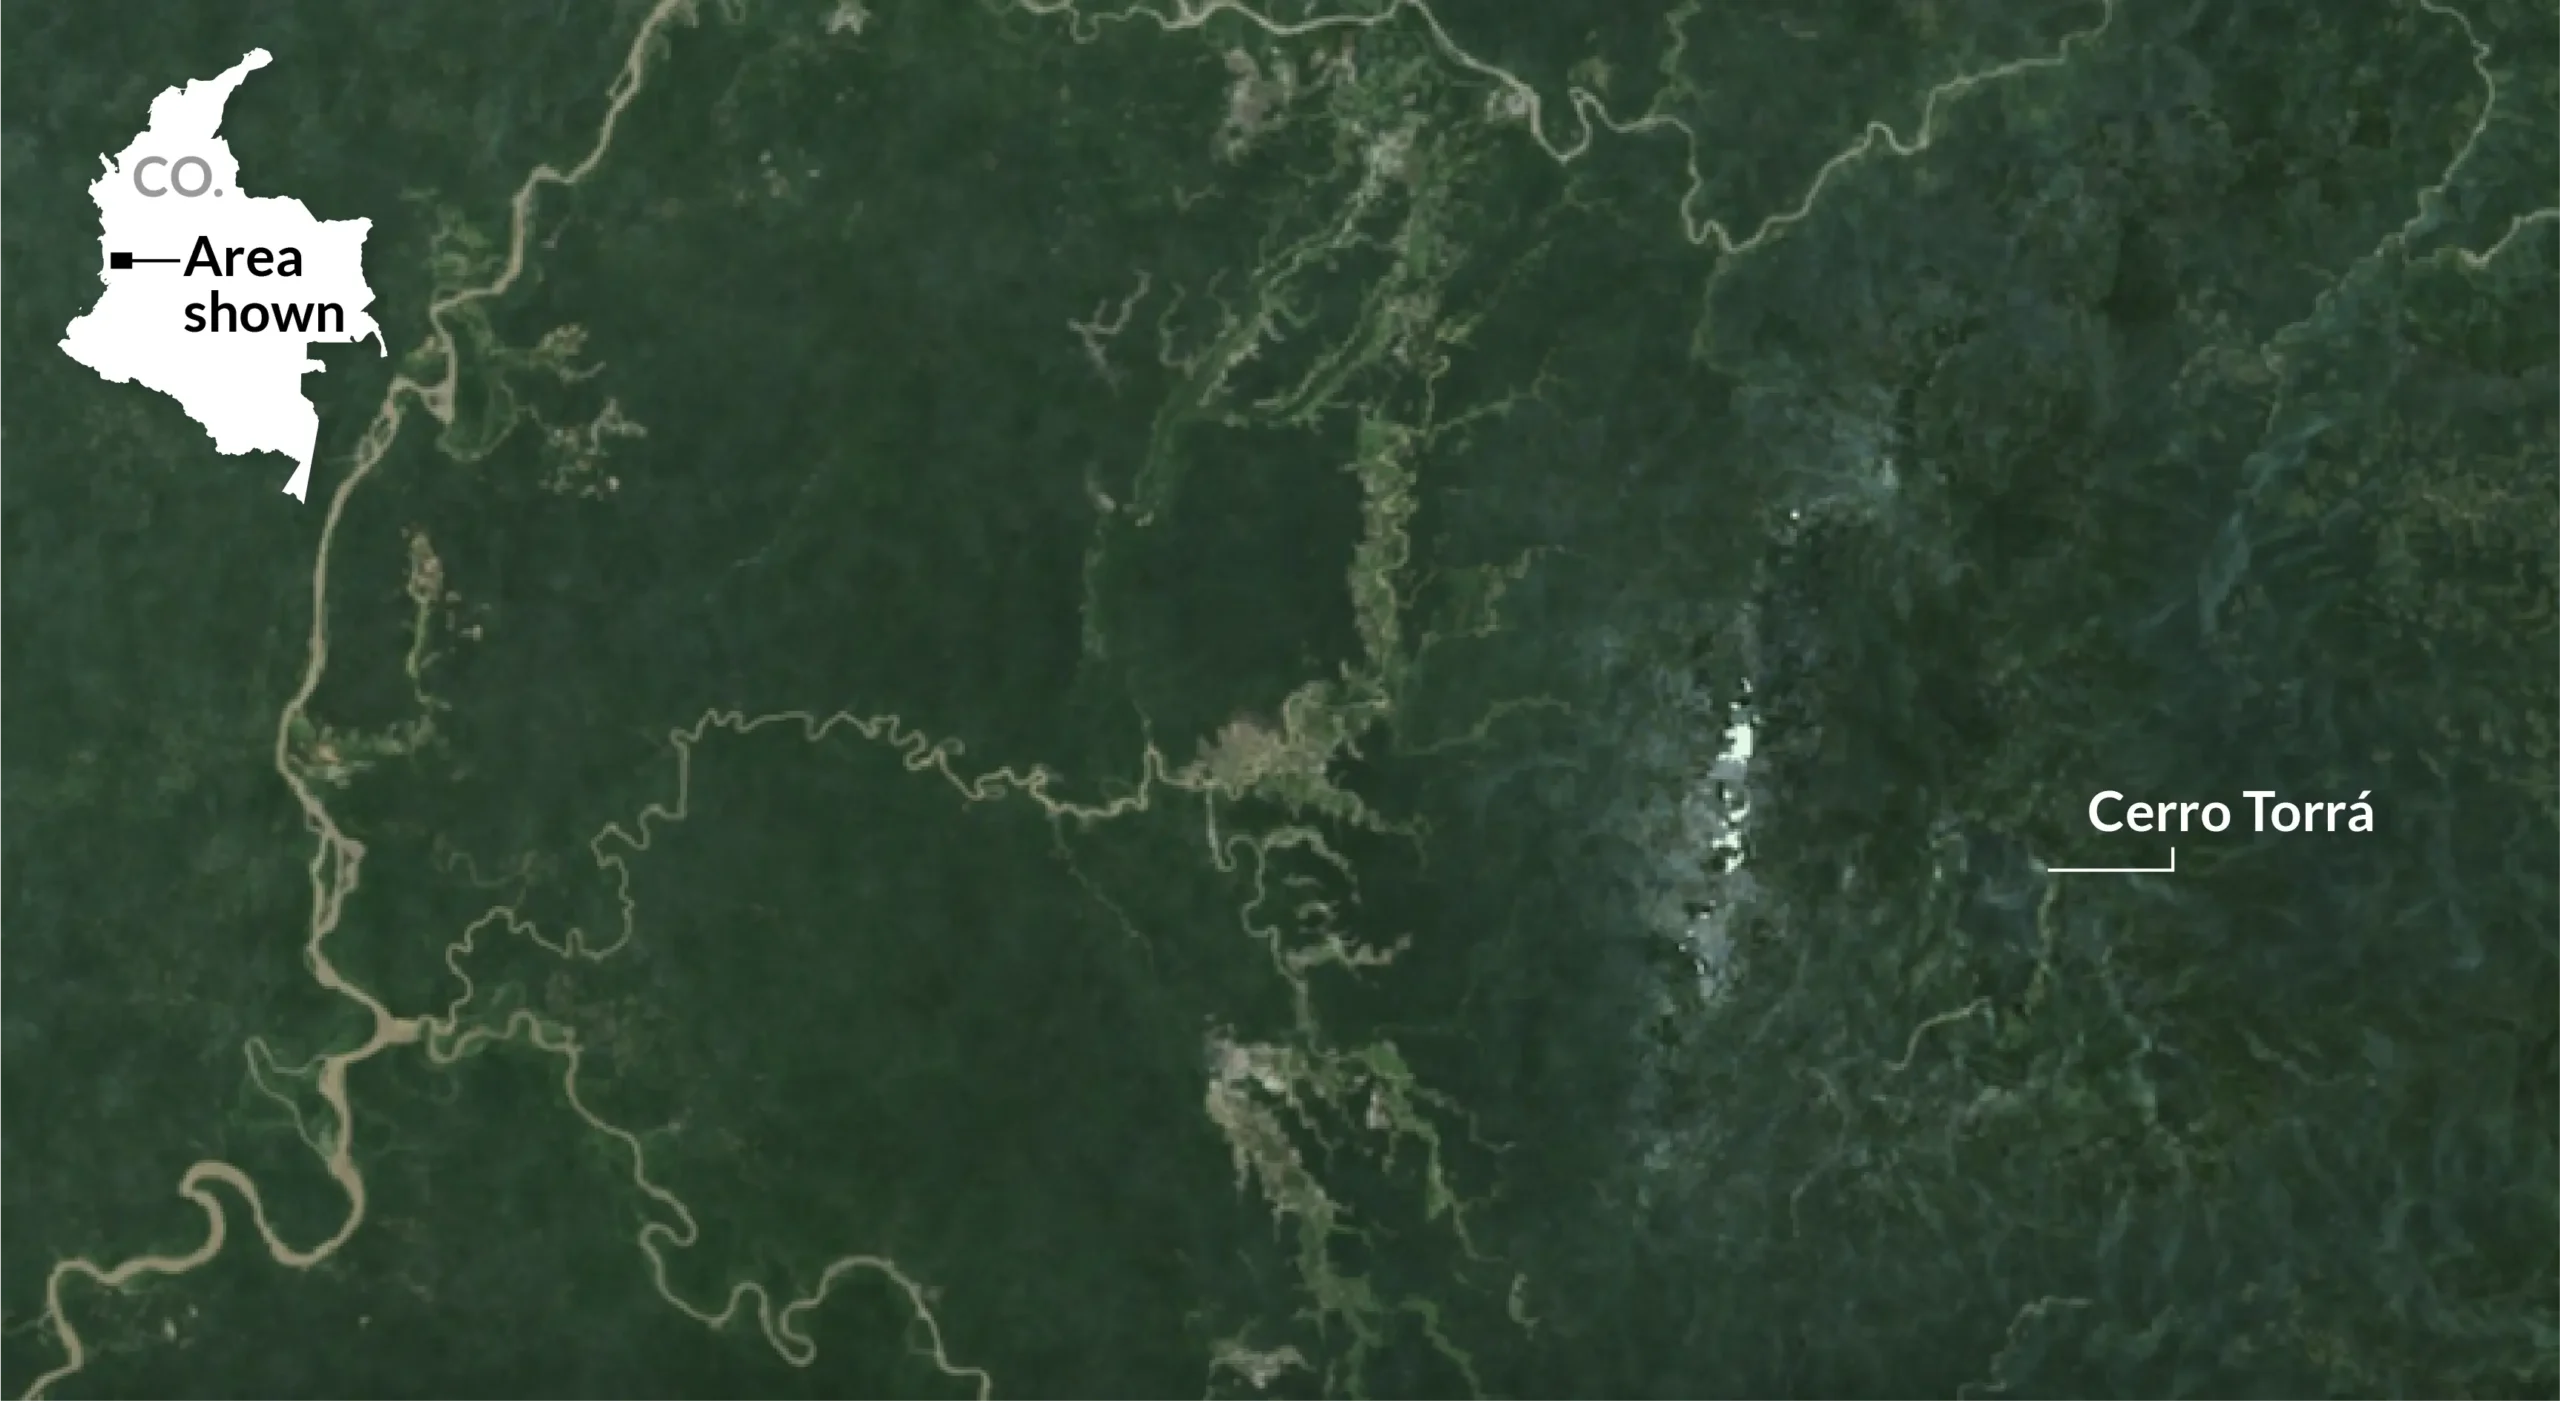
I first noticed data holes in the Chocó are often surrounded by areas of lower-quality, but still valid, pixels. Let’s walk through this process focusing again on the area around Cerro Torrá:
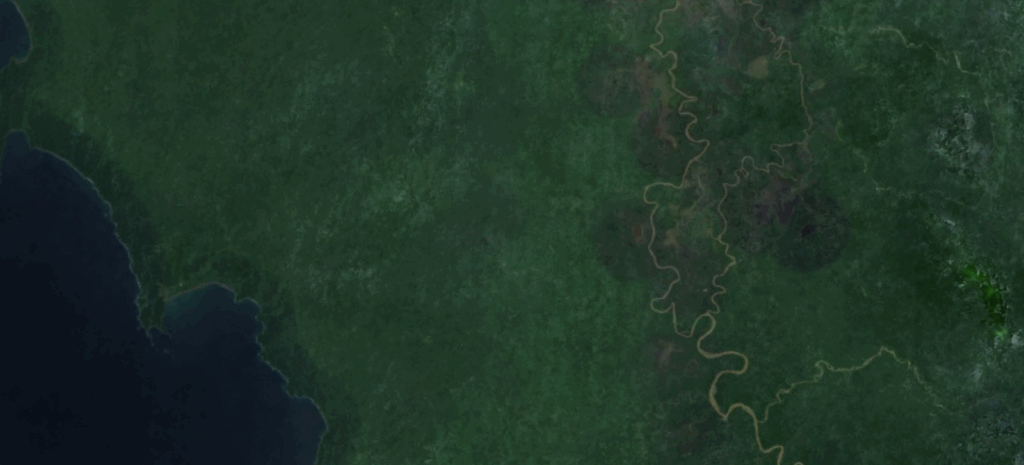
These lower-quality pixels have clouds filtered in, which leads to a brighter color than the dark rainforest. Which means if we sample the pixels around the data hole with a small buffer and we find the minimum values, that is probably a lot closer to the original land cover of the data hole than, well, nothing.
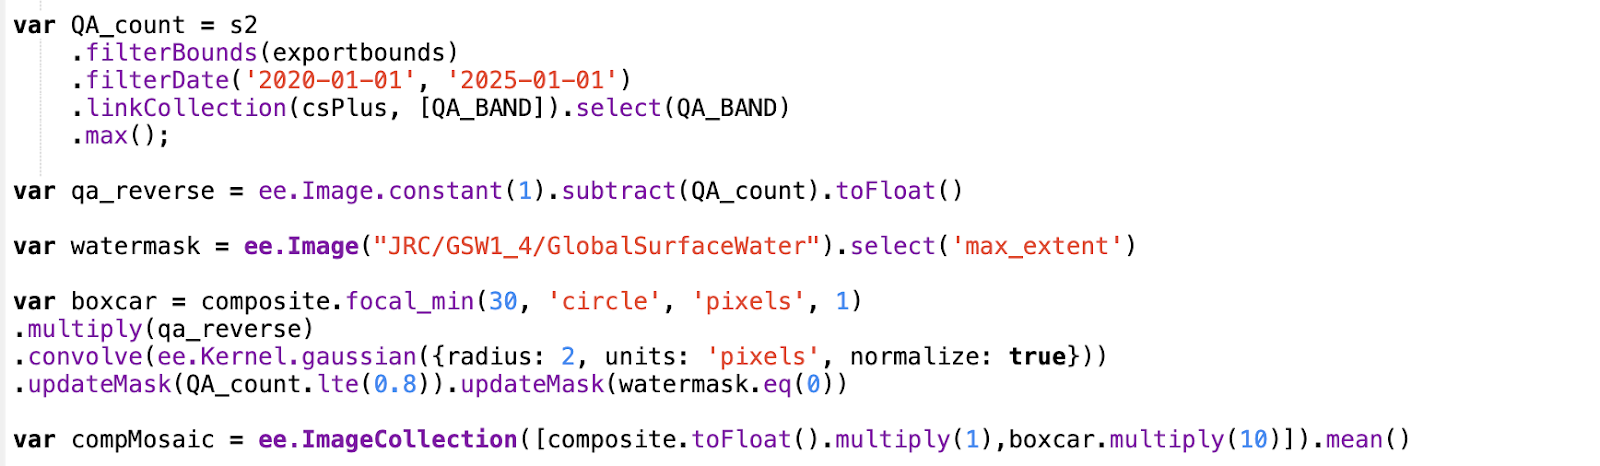
Based on the assumption that darker pixels were more likely to be accurate, I calculated a focal min, where Earth Engine finds the smallest value per x number of pixels in an area (called a kernel), and punches this out again and again until you end up with what looks like a blurred, darker version of the original image, where the holes have been filled in by nearby values.

But while this works for my holes, it is not necessary to replace my good pixels with this layer, and since I have a spectrum of pixels of decreasing quality around these holes, I need my blurred layer to blend in smoothly and gradually to compensate.
This meant I needed some sort of weighting layer. I took the maximum qa value (that is: the clearest value recorded) per pixel, and subtracted it from a constant raster I generated, to make an inverse of the original.

I now have an image where the value is higher and closer to 1 if the original qa property for that pixel was lower (and closer to zero). As in, white areas are where the clearest day in the data record was less clear, and vice-versa. I can multiply this with my boxcar raster, and it will weigh my boxcar more, if the score was lower, and cancel it out where the score was higher. If I combine that with my underlying original mosaic, I get that weighted combination I wanted.
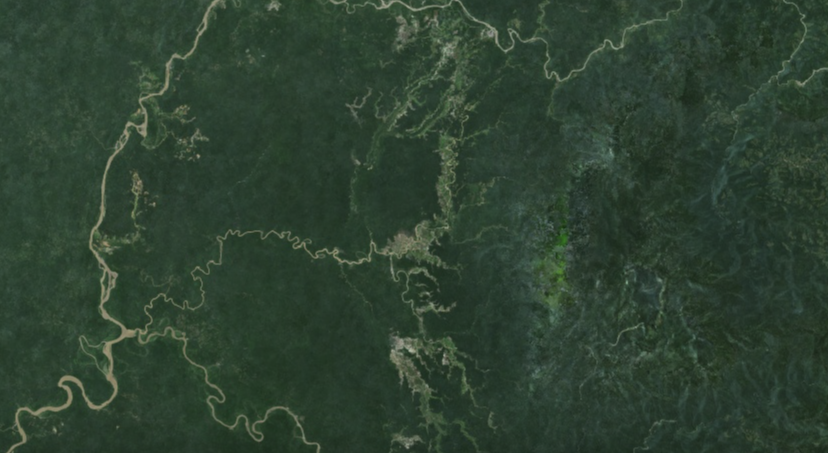
But, when I checked out other areas, I noticed a problem around some water-bodies:
These circles surround dark lakes and the ocean, which are darker than the rainforest. Interestingly, yellow, silty water like the Atrato River (above right) is brighter, and does not interfere with the kernel.
Luckily, a simple masking by a waterbody layer before the final mosaicing process fixed this, and I masked out areas with high qa values above a 80% threshold just to be extra careful (where interpolation is not needed). I also ended up multiplying my blurred layer to make it brighter after the fact, so the value of the patches was more contiguous visually with the original composite. This is where I ended up:
Here is the final, entire block of code:
Additional refinement of the levels of weighting in the formula no doubt would make for a smoother final product, but I was happy enough to fill the holes with a reasonably close color (and angsty to make progress) that I didn’t feel the need to invest more time in waiting for Earth Engine to load each revision vs. tweaking it quickly in Photoshop later. Which is good, because now I needed to start on the map.
Next section: Making the Map